Build Automation with GitLab Pipelines
Do you still recompile and run your program (and ideally your tests) after every change, like developers did 20 years ago? Do your teammates still bother you about your specific setup that, which is needed to compile/run your projects? Well, then we’ve got some news for you!
We’ve setup GitLab Instance Runners on our central computing Servers, so that people can run their build automation on powerful, independent machines. All managed and fully integrated on our GitLab Server.
Pros and Cons
Pros
- Independent builds.
All build steps are executed on any of the available machines. Meaning every job HAS TO run independently from your setup. This way, you can guarantee that the end product will also build independently from your own setup and its intricacies. - Computing Power.
Builds that take longer as well as all the tests run on machines with plenty of CPUs and RAM. No need to use up all your local resources. - Packages and Releases
Our GitLab Instance also has a package repository plus release management. - Learn new things.
Setting up a build pipeline will confront you with the environment of whatever language you are using, you will get to know all the build tools in your toolchain.
Cons
- Not trivial
If you’ve never worked with build automation like for example github.com workflows, it’s not easy to get things right for the start. There is definitely a learning curve involved.
How To Use
Runners
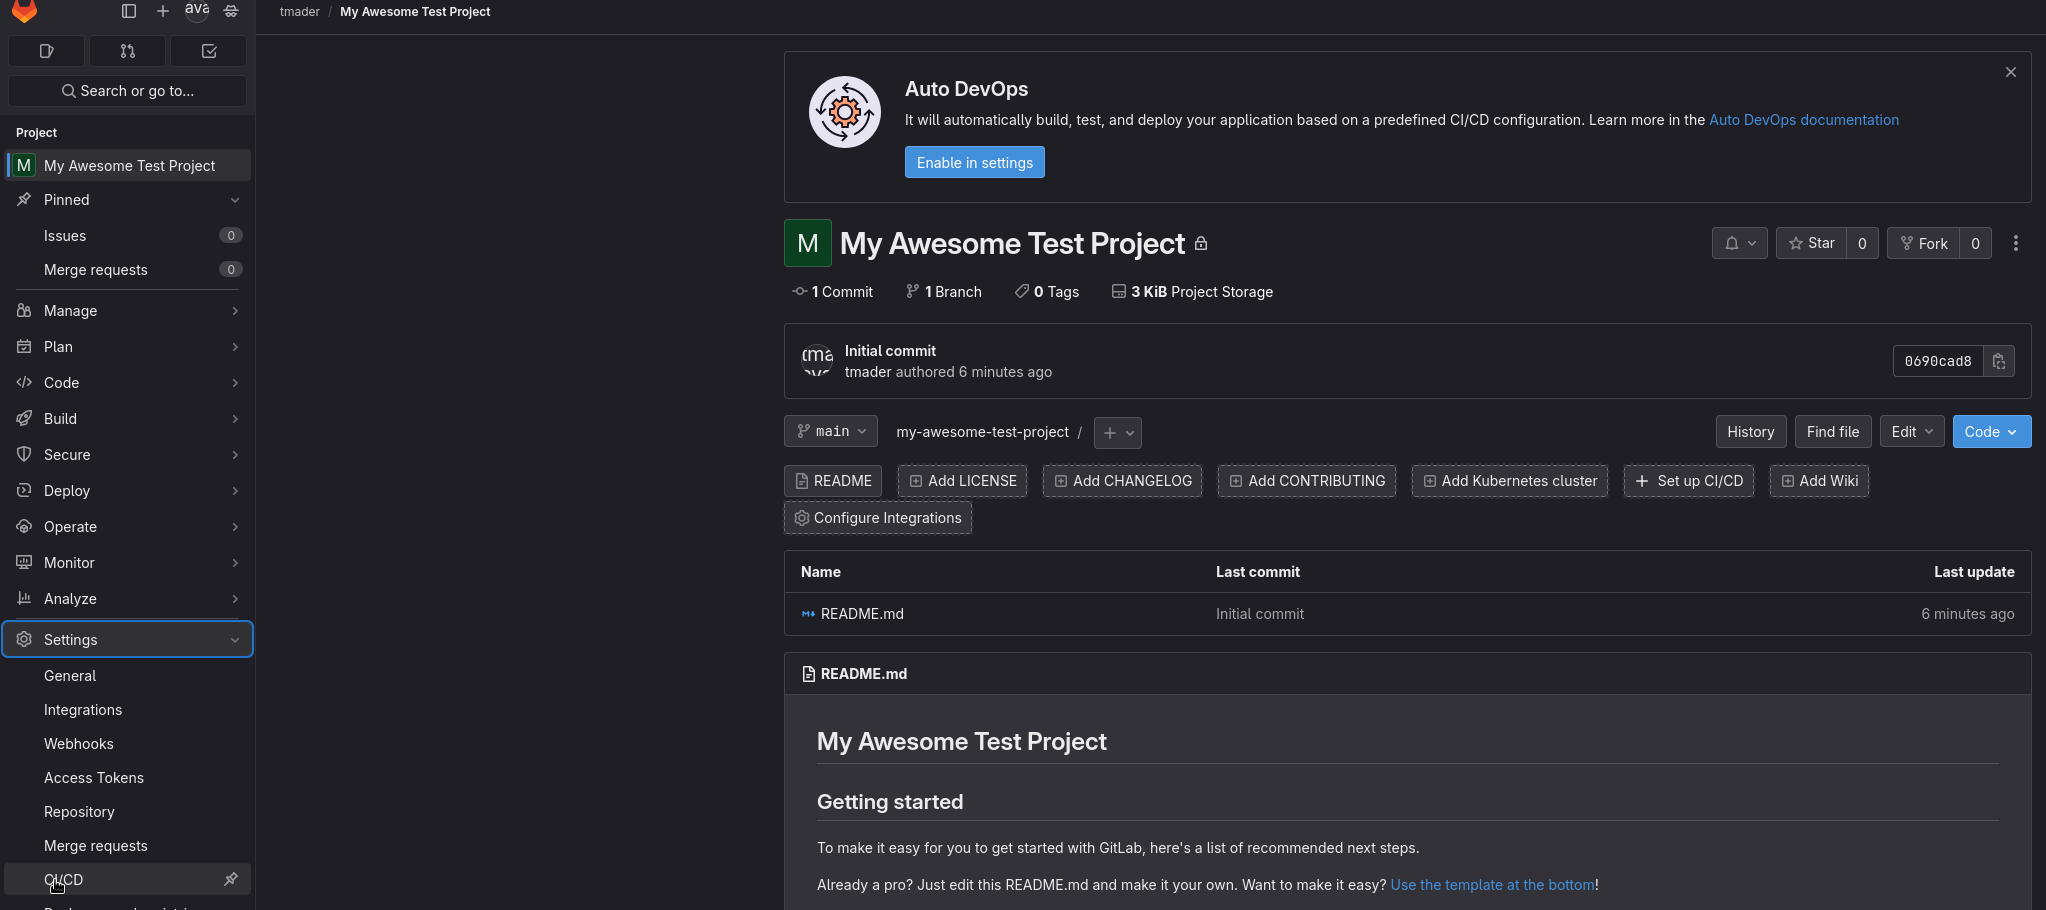
The first thing you want to to, is to make sure that your project has at least one ‘runner’. To do so, go to your project’s CI/DI Settings. Settings -> CI/DI
Then go to the Runners section and expand it.

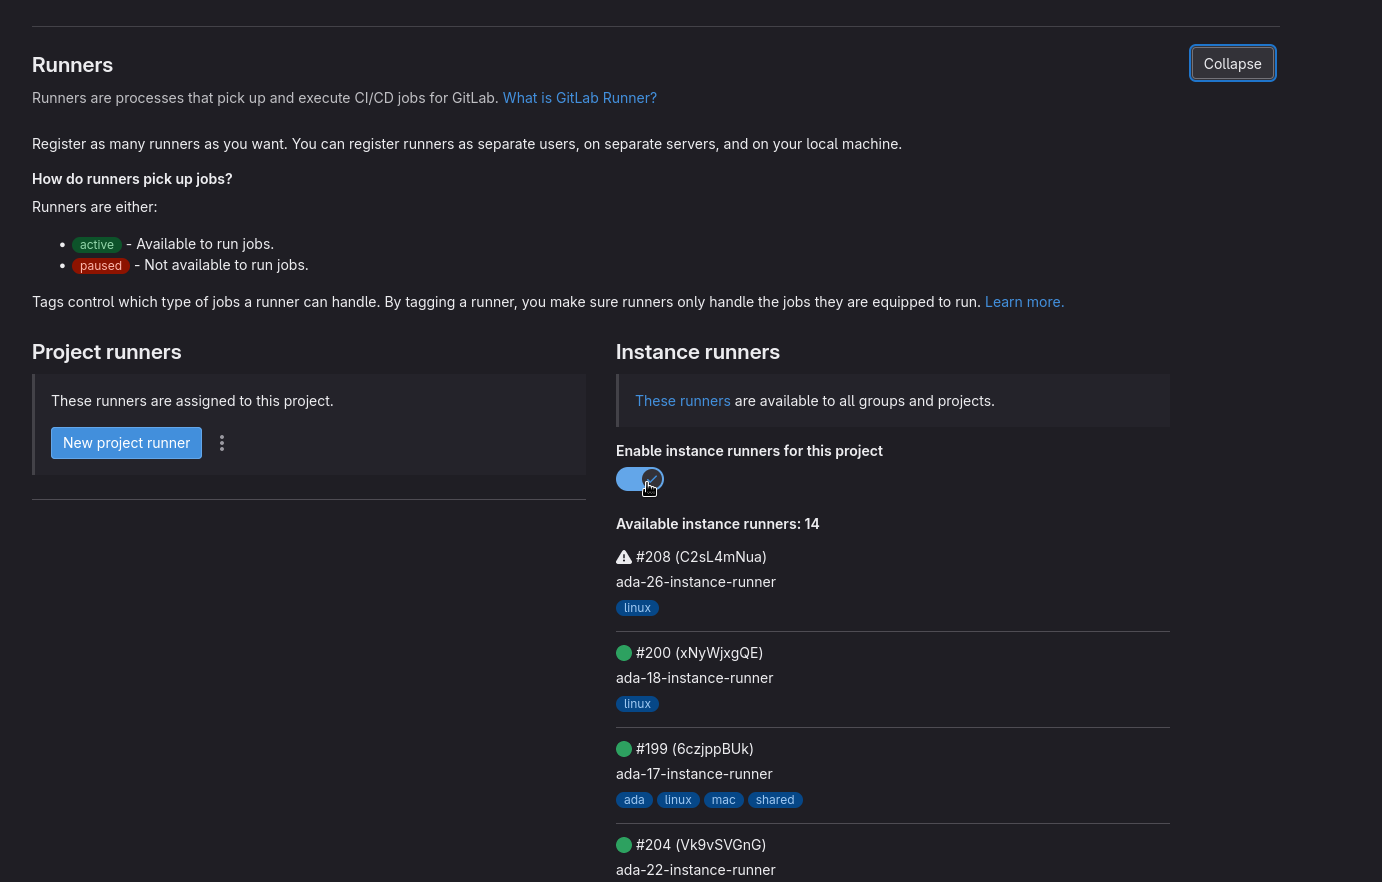
Make sure ‘instance runners’ are enabled for the project. This should be the default on every newly created project, but might still be deactivated on older ones.
That’s it!
If you have your own gitlab-runner somewhere online or even on your machine, you can add it by clicking ‘New project runner’ and following the instructions that GitLab will then give you.
Pipelines
You have to setup a ‘pipeline‘ in order for the runners to know what to do.
A pipeline is simply a file called .gitlab-ci.yml. It contains a couple of YAML blocks with instructions. As soon as you have a pipeline, every push to your remote repository will trigger the pipeline on whichever runner is currently free to get to work.
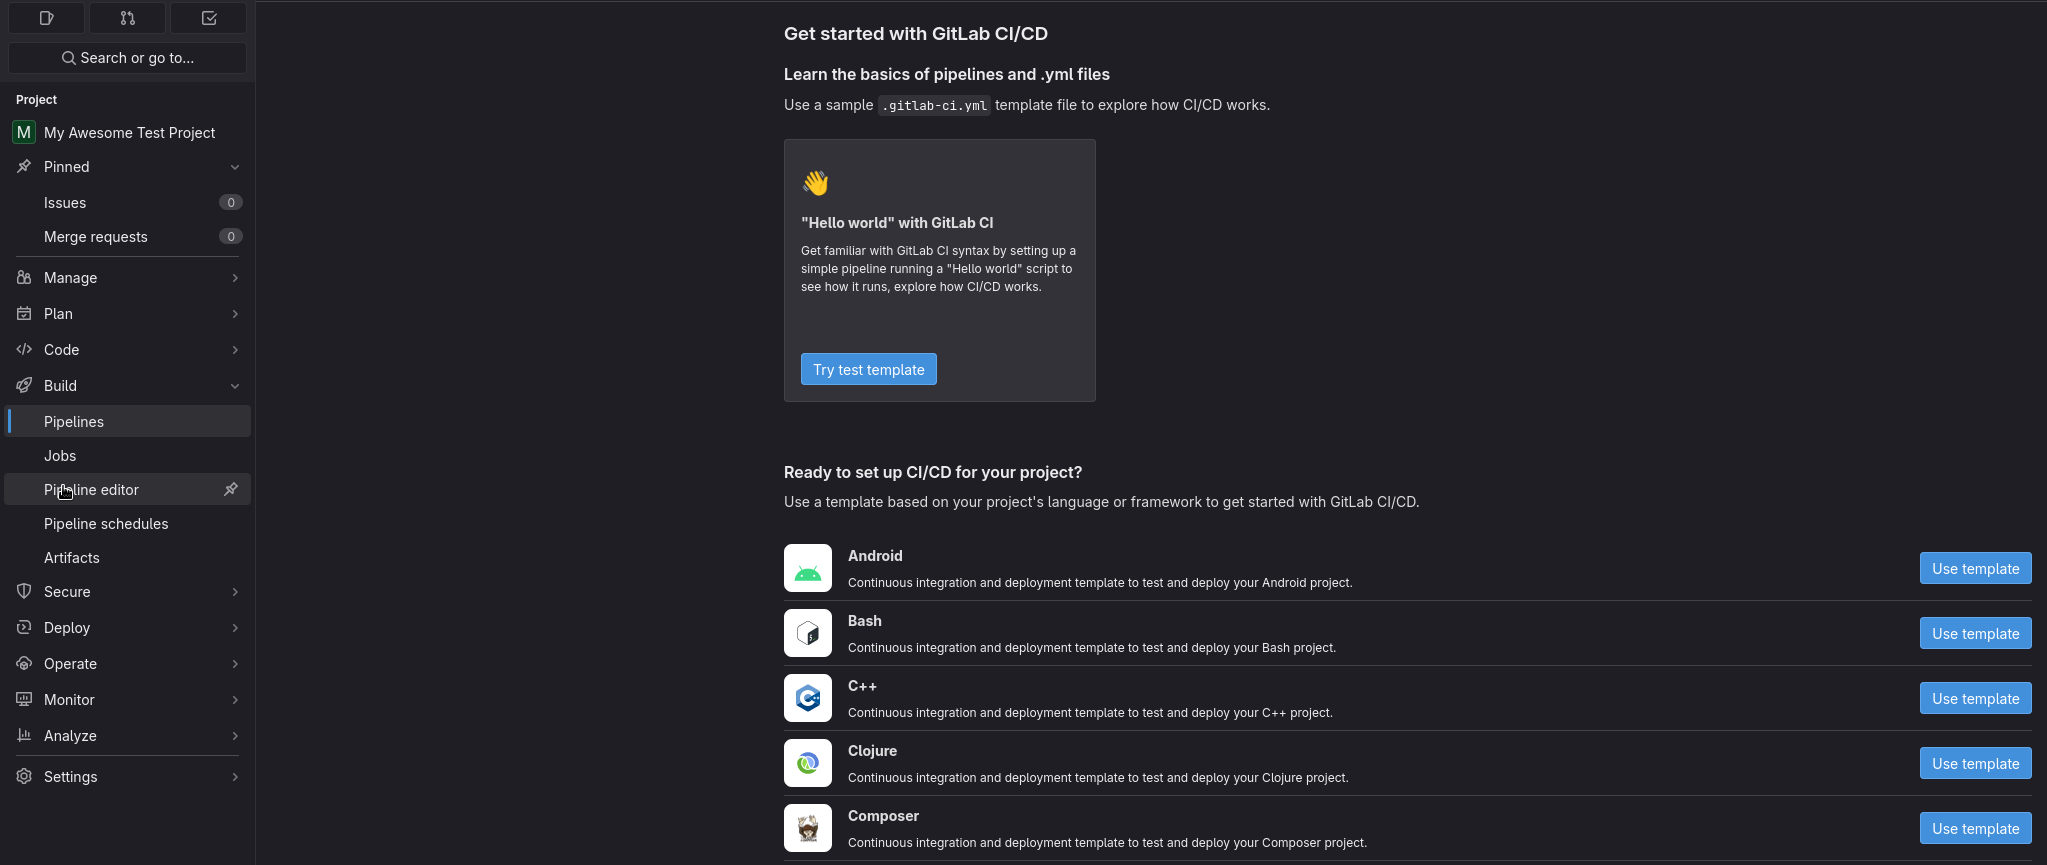
Templates
To set one up, just click on ‘Pipelines’ in GitLab. GitLab comes with an array of templates for most programming languages out there. However, I recommend that you create an empty pipeline. Simply because it’s harder to debug a template than the smallest working version that you’ve built yourself.
Creating an empty Pipeline
To create a fresh pipeline, just click on ‘Pipeline editor’. GitLab will create a fresh ‘.gitlab-ci.yml’ file for you to start working with.
Some Important Terms and Concepts
A pipeline contains n jobs. Every job is potentially handled by a different runner.
The first thing any runner does, is cloning your git repository. This raises the following question:
– How do we handle files that are created by a job? The answer is: artifacts
Every runner has access to the artifacts of the other jobs in the pipeline. Meaning: If you have, for example a virtual environment, created by your setup-my-environment job. You have to declare your
./venv as an artifact. So that the next job will clone your git repository and then download all the artifacts.
That way it can start working, where the last job finished.
As you’ve probably noticed, I’ve linked to the official Documentation twice already. I highly encourage reading the official GitLab Documentaton on the subject matter. Not only is it up to date and thorough, it also teaches the concepts behind its build automation system.
A good point to start is the chapter ‘Use CI/CD to build your application’ which you can find here:
https://docs.gitlab.com/ee/topics/build_your_application.html
As always, if you have any questions or you get stuck somewhere, don’t hesitate to write us an e-mail at isg@math.ethz.ch. You can also pester the author of this article with any requests regarding this subject.
Happy coding!
Mathias
Posted on
in Build Automation,Code Repositories